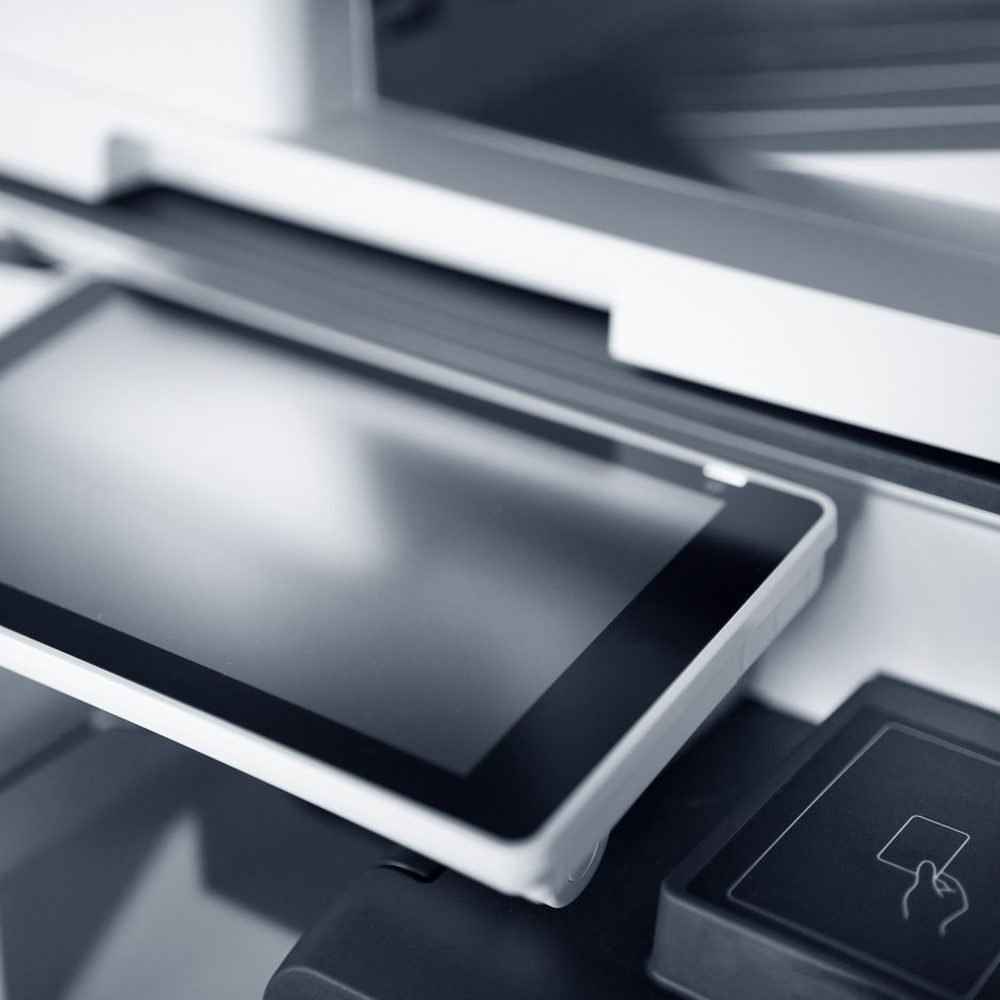
A wireless printer is a small computer that has to join your Wi-Fi network on its own, without a keyboard, without a proper screen, and usually without telling you why it failed. That is the whole difficulty in one sentence. A USB printer works because a cable makes the connection obvious. A wireless printer has to be talked onto the network first, and only then can your computer find it.
The job is done from the printer’s own control panel — the little screen and buttons on the printer itself. That is where you tell it which wireless network to join and give it the password. Everything else in this guide follows from that one operation. None of it assumes you are technical.
Before You Start, Have These Three Things
Almost every failed setup I get called out to is missing one of these:
- The exact name of your Wi-Fi network. Not “the internet” — the network name, also called the SSID. It is usually printed on a sticker on the router.
- The Wi-Fi password. The one on the router sticker, unless somebody changed it. Passwords are case-sensitive, and a capital letter typed as lowercase will fail with exactly the same unhelpful error as a wrong password.
- The printer within decent range of the router. A printer in the garage with the router at the far end of the house will sometimes connect and then drop off daily. Set it up close, and only then move it if you must.
Connecting From The Printer’s Control Panel
This is the main event, and it is the method that works on essentially every wireless printer with a screen. You are going to walk the printer through finding your wireless router — the box your internet comes through, which many people call the modem — and giving it the password.
Step 1: Find the wireless menu
Every manufacturer words this differently, which is half the confusion. On the printer’s control panel, look for whichever of these matches your machine:
- Canon: Setup (the gear icon) → Device settings → LAN settings → Wireless LAN setup
- Epson: Setup → Wi-Fi Settings → Wi-Fi Setup Wizard
- HP: Setup (gear) → Network → Wireless Setup Wizard
- Anything else: look for the word Wireless, Wi-Fi or Network, then a Wizard or Setup underneath it.
Step 2: Let it search, then pick your network
The printer scans and shows a list of nearby wireless networks. Choose yours by name. If your network is not in that list, stop and read the 2.4 GHz section below — that is almost certainly the reason, and no amount of retrying will change it.
Step 3: Type the password carefully
This is where most setups actually go wrong, because you are typing a long password on a cramped keypad or a small touchscreen. A few things that help:
- The password is case-sensitive. A capital typed as lowercase fails with exactly the same message as a completely wrong password.
- Watch for characters that look alike on a small screen — the digit 0 against the letter O, the digit 1 against a lowercase l.
- If the printer offers a show password or eye icon, turn it on and read the whole thing back before you confirm.
- On older printers the letters are cycled with arrow keys, which is slow. Go slowly on purpose; a mistyped password means starting the wizard again.
Step 4: Confirm it actually joined
Give it up to a minute. The wireless light should stop blinking and settle to a steady glow, and most printers show a confirmation on screen. A light that keeps blinking, or one that goes out entirely, means it did not join.
Step 5: Print the network configuration page
Do not skip this. From the same Network menu, choose Print Network Configuration, Network Status Sheet or similar. It prints one page showing the network it joined and, importantly, the printer’s IP address — four numbers separated by dots, something like 192.168.1.42.
Keep that page. If the printer ever goes “offline” later, or your computer cannot find it automatically, that address is what fixes it in about a minute instead of an afternoon.
If Your Network Is Not In The List: The 2.4 GHz Trap
If you read only one other section, read this one. It accounts for more failed printer setups than everything else put together.
Modern routers broadcast on two bands: 2.4 GHz and 5 GHz. The 5 GHz band is faster over short distances, so phones and laptops prefer it. But a great many printers — including current models being sold today — can only see the 2.4 GHz band. They are not broken. They simply do not have a 5 GHz radio.
So you stand at the printer, tell it to search for networks, and your network is not in the list. Everything else in the house is connected, so the natural conclusion is that the printer is faulty. It is not. It genuinely cannot see that network.
What to do about it depends on how your router is set up:
- If the two bands have different names (something like MyNetwork and MyNetwork-5G), just pick the one without the 5G on the end.
- If both bands share one name — which most modern routers do by default, and it is called band steering — the printer may still fail to find it. The fix is to log into the router and temporarily split the bands into two names, connect the printer to the 2.4 GHz one, and then decide whether to leave them split.
- If your router has a “guest” network, do not put the printer on it. See below.
If Typing The Password Is The Hard Part: The WPS Button
This is an alternative to steps 2 and 3 above, not a replacement for the whole process. If your router has a button marked WPS, you can skip typing the password entirely:
- On the printer, find the WPS or “Wi-Fi Protected Setup” option. It is usually under Settings → Network, or there is a physical Wi-Fi button you hold down.
- Start it on the printer first. The printer now waits, usually for two minutes.
- Go to the router and press its WPS button. Do not hold it too long — on many routers a long press resets the whole router.
- Go back to the printer. Within a minute or so the Wi-Fi light should stop blinking and stay on solid.
Two cautions. Some internet providers ship routers with WPS disabled for security reasons, in which case the button does nothing and you want Method 2. And if your router is in a cupboard on the other side of the house from the printer, this method is awkward, because you have two minutes to get from one to the other.
Now Add The Printer To Your Computer
Getting the printer onto the Wi-Fi is only half the job. Your computer still has to be told the printer exists.
Windows 11 and Windows 10
- Open Settings → Bluetooth & devices → Printers & scanners. On Windows 10 it is Settings → Devices → Printers & scanners.
- Click Add device and wait. A wireless printer on the same network usually appears within thirty seconds.
- If it does not appear, click Add manually and choose to add by TCP/IP address. Type the IP address from that configuration page you printed.
Mac
System Settings → Printers & Scanners → Add Printer. Most home printers support AirPrint, which means no driver download at all — the printer simply appears in the list.
Linux
Most distributions detect a network printer with no driver hunting whatsoever, which is one of the quiet ways Linux has got better than its reputation. Open your printer settings, click Add, and it is usually already listed. If you need the full control panel, browse to localhost:631 to reach CUPS directly, and add the printer by its IP address. Printers that support driverless printing over IPP need nothing installed at all.
It Worked Yesterday. Today It Says Offline.
This is the single most common call I get about printers, and the cause is nearly always the same, so it is worth understanding rather than just working around.
Your router hands out IP addresses on a lease. The printer might be 192.168.1.42 today. Reboot the router, or leave the printer switched off for a few days, and the router may hand that address to a phone and give the printer a different one. Your computer is still looking for the printer at the old address, finds nothing there, and reports the printer as offline. The printer is fine. It has simply moved house without leaving a forwarding address.
The permanent fix is to give the printer a fixed address, in one of two ways:
- A DHCP reservation on the router — the better option. You tell the router to always give this particular printer the same address. Everything stays automatic, and nothing on the computer needs changing.
- A static IP set on the printer itself — works, but you must choose an address outside the range the router hands out automatically, or you will eventually get a clash that is genuinely hard to diagnose.
If you would rather not go into the router at all, the quick workaround is to remove the printer on your computer and add it again, which picks up the new address. It will work, and it will keep happening.
Other Things That Cause This
- The printer is on the guest network. Guest networks deliberately isolate devices from each other so visitors cannot see your files. That isolation also stops your computer reaching the printer. Put both on the main network.
- The computer is on 5 GHz and the printer on 2.4 GHz, with the router isolating the bands. Uncommon, but it happens on some provider-supplied routers, and it produces a printer that is definitely connected and definitely unreachable.
- Deep sleep. Some printers sleep so thoroughly that the first job after hours of idleness is lost while it wakes. Sending it twice appears to fix it; turning down the sleep setting actually fixes it.
- A Windows update replaced the driver. Removing the printer and adding it again is usually quicker than fighting the driver.
- VPN software on the computer. A VPN can route local traffic away from your own network, so the printer becomes unreachable while the VPN is on.
When To Stop And Call Someone
There is no prize for spending a Saturday on this. It is worth calling when you have hit any of these:
- The printer will not show your network at all, and splitting the router bands is further than you want to go.
- You do not have the router login, or the provider changed it.
- It connects, prints once, and drops off again — that pattern usually means signal strength or an address clash, and both take proper diagnosis.
- There are several computers to set up, and you would rather have all of them working the same evening.
We come to you, anywhere in Rialto and across the Inland Empire, and we set it up on your network with your computers, so it is working before we leave. If you would rather just have it done, see our printer connection service, or call (909) 367-8003.
One thing worth saying plainly: we do not repair printer hardware. If the printer itself has failed mechanically, we will tell you honestly rather than bill you for an afternoon of trying.